

After the climactic opening you kick things off in The Legend of Zelda Tears of the Kingdom in the Great Sky Island, so here’s our guide to help you get to grips with what feels like a big intro. It can feel a bit confusing when you first begin and when you look around it isn’t easy to find all of the shrines that you need to get, so the details below should help you out.
You wake up and find yourself up on the Great Sky Island after the incident beneath Hyrule Castle at the beginning of the game. You’re told that you need to go to the Temple of Time, which is pretty simple to get to, but when you make it there you discover that you don’t have the power to get in.
AdvertisementTo get the power, you need to head out to three Shrines around the Great Sky Island, but you’re only given the Purah Pad zoom function to be able to spot them. It makes for a moment of disorientation, but it’s nothing compared to the huge sprawl of Hyrule that you’ll get to later in The Legend of Zelda Tears of the Kingdom.
You can subscribe to our newsletter or follow us on Twitter to see our latest on upcoming video games releases, and you can see more on The Legend of Zelda Tears of the Kingdom with the official Nintendo Twitter page at https://twitter.com/NintendoAmerica.
Getting to the first three Great Sky Island Shrines
You can’t miss the Temple of Time, it’s the big temple-like building you can see as you’re heading down from where Link wakes up. You’ll get guided along the way by friendly constructs, as well as fighting a few soldier constructs to get back in the swing of the combat.
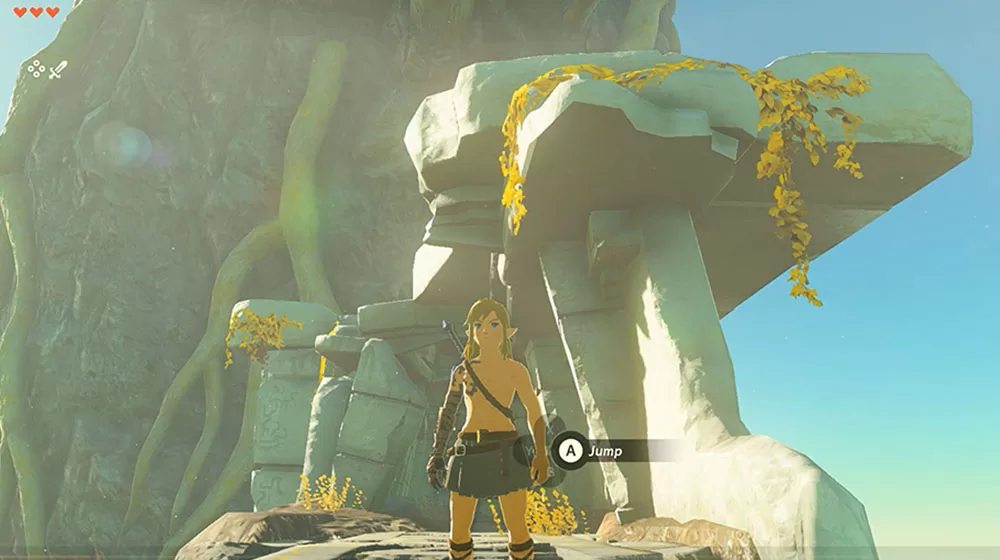
The first of the Great Sky Island Shrines you need to complete is just to the left of the Temple of Time as you’re facing the door. The camera zooms towards it in the cinematic scene at the door, so this is the easiest of the three to get to.
AdvertisementThere are some stairs circling around the column underneath the Ukouh Shrine and to complete it you just need to use the new Ultrahand ability to create a path around. Stick platforms together and make yourself a hook rail rider and you’ll make it to the goal to complete the shrine.
To get to the second of the Great Sky Island Shrines, you need to get down to the floating island below with the fire burning on it. Sadly, it’s not King Roam, but it’s a nice call back to the first few sections of The Legend of Zelda Breath of the Wild.
RELATED:
The Legend of Zelda Tears of the Kingdom how to get the glider
Use the hook rail ride to get down to him and then use the stone axe to chop down trees to make into a bridge to get over to the water beyond the fire. You don’t have the glider at this stage, so you’ll be a bit constrained in terms how much exploring you can do, but it does keep you focused on the task at hand.
Take the bridge over the water and you’ll come out on a clearing with another construct and a hook rail ride to take. Use this and you’ll find a Karon who wants to get back to his friend. The trick is to pick him up with Ultrahand and you can take him in the process of riding to the next level down, before using the next track to go down again.
AdvertisementThere’s more constructs to talk to at the bottom, and soldiers to fight, but then you need to make a boat to get across to the other side of the water. Attach the sail to some logs and let the wind do the rest and you’ll find the second of the Great Sky Island Shrines, In-Isa, over the other side.
Here, you’ll get Fuse and use it to combine rocks with weapons to smash through things and Fuse Fire Fruit with arrows to burn down the chest to get to the goal. It’s fairly easy, but if you get stuck with anything in the Great Sky Island you can see the video walkthrough to guide you through everything below.
Outside In-Isa, you’ll be given the energy cell and directed to a cave so head there, taking out any soldiers on the way. On the other side of Pondside Cave you’ll get introduced to Zonai devices like the fan, which you can use Ultrahand on to make a power boat to get across the water.
Head up the hill on the other side, fighting enemies cautiously as you go. You’ll then come to a mine-cart cave and inside you’ll get an introduction to powering devices and using Zonait. You’ll then need to Ultrahand a powered mine-cart on the other side to ride up to the next island, so throw a fan on the back and power on up.
AdvertisementThere’s another chat with Rauru at the top and a device dispense to get some more baubles to add to your kit. Throw in construct parts to get more devices and then you can access them from the menu.
Take another cart ride up and save the Karok on the way and then you’ll be on the clime for the last of the Great Sky Island Shrines. It’s up in cold snowy conditions, so you’ll need protection by cooking up some Spicy pepper next to the constructs in the cave at the bottom of the slope and then start your ascent, either up through the cave or on the outside.
This will lead you to Bottomless Cave, which has a Like Like for you to fight on the way. Shoot it in the mouth dangle bit and then smash it when it falls to beat it after a few cycles. Follow the route up and then climb up to the shrine that you can see above you.
It’s called Gutanbac and it gives you the Ascend ability, which you use to complete it. To get the chest, burn on the crate with the Flame Emitter and then use Ascent to get up to it. Cut the rope to get a platform to ascend again and then it’s all about timing on the final section to the goal.
With the three Shrines done you’ll head back to the Temple of Time and the quickest way down is on one of the Wings devices ready to go on their tracks. If you stop on the island to the right on the way down you’ll get another chat with Rauru.
AdvertisementAt the Temple of Time you’ll be able to open the door and get the Recall ability, which you use on the water wheels to get up to the next level. Here, the statue won’t be much use to you, but head to the door behind it to give it a try. This will trigger another scene with Rauru and you’ll be sent to get the last of the Great Sky Island Shrines.
The fourth Great Sky Island Shrine
The Legend of Zelda Tears of the Kingdom is huge, but a big part of being able to navigate it’s massive confines is the fast travel system and you’ll be able to use it here. This will take you back to the Room of Awakening and then you’ll have a map marker to follow to get to it.
Use Ascent to get up to the higher level and then use Recall on the water wheels to get to the Natoyah Shrine. There’s also a little tutorial with a construct on using it to refine crystals to get energy wells, but you’ll need 100 of them, so it’s something to come back to the Great Sky Island to try later in the game.
You use recall in the Natoyah Shrine to reverse things to get to where you need to be. You can see the whole thing in the video below. The tricky bit is the clocks hands bit, which requires you to reverse them when they’re in alignment, but if you’re having any trouble with this it’s in the video.
RELATED:
What to do first in The Legend of Zelda Tears of the Kingdom
With that done, you will complete the Great Sky Island and head down to Hyrule. If you’re not sure about what to do first from then on in The Legend of Zelda Tears of the Kingdom, you can check out the link above. You can also see more from our guide with the links at the bottom of the page.
We’ll update our guide as we discover additional details about the game. Check out our computer games section for more news and features on The Legend of Zelda Tears of the Kingdom, or visit the official website at https://www.zelda.com/.
