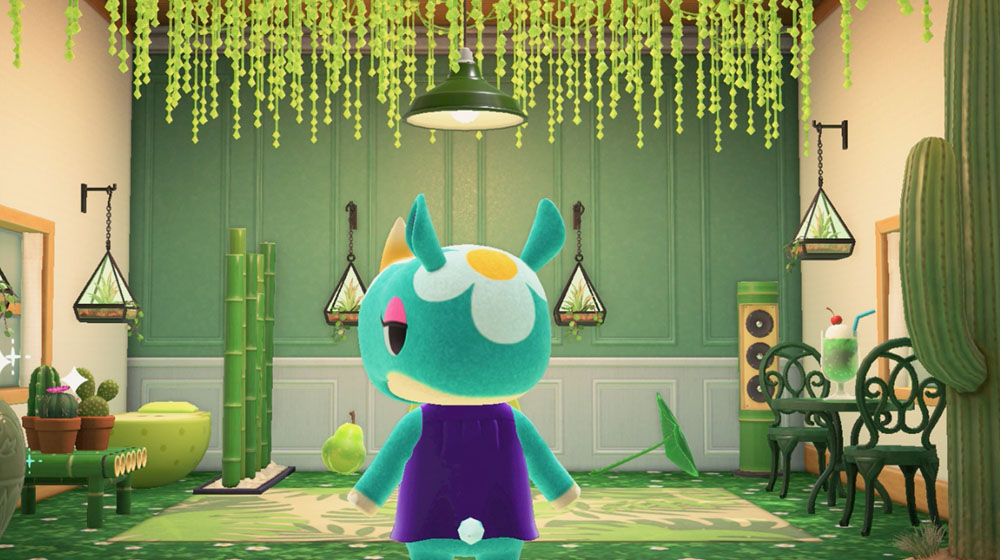
If you’ve just returned to Animal Crossing New Horizons to play the new DLC, Happy Home Paradise, then you might get a little stuck on how to take a photo. It’s one of the tasks that Lottie gets you to do to fill out the brochure to attract more holiday home customers to the set of islands that are a part of Paradise Planning.
Obviously, you’ll need the DLC to be able to play this element of the game, which will set you back $24.99 in the US and £22.49 in the UK. You won’t be asked to take a photo on your first job, but when you complete things for your second customer, whoever that might be, Niko (Lottie’s assistant) asks you to take a picture of your work, but doesn’t give you any more details about how to do that.
AdvertisementHe mentions that you can move people around, but that’s pretty much it. However, you can find all of the details of what you need to do below, as well as getting some tips on how to set up your holiday homes to get better photos and hints about how to take better pics in general.
How to take a photo?
After you get asked to take a photo, you might spend a little time searching the screen for the button you need to use, but the reality is that it’s just something that you’ve always had and you might have forgotten about if you haven’t played Animal Crossing New Horizons in a while. The photo app is the same in Happy Home Paradise inside a customer’s house as it is on your island, and you can access it by pressing RL to bring up your Nook Phone apps and choose the photo app.
AdvertisementOnce you do that, you’ll go into photo mode in Happy Home Paradise, which is different to its usual function. Here, you can move the camera with the C controls, look in different directions with the right control stick, zoom in and out with X and Y and toggle characters with a click down on the left control stick.
If you want to move a character, you’ll need to exit the photo mode and replace them, but they tend to move around, so if you do this you’ll need to be pretty quick with the + button to take the photo before they get out of position. You can add a frame with the L button, change the lighting with Zl and turn the guide notes off to see your shot better with a click down on the right control stick.
AdvertisementSadly, you don’t have complete freedom of movement with the C controls and the look function with the right control stick, so expect a little frustration with this.
Don’t forget to follow us on Twitter to see more gaming tips, news and reviews. You can also stay up-to-date with Animal Crossing with the official Twitter page at https://twitter.com/animalcrossing.
How to take better pictures
You can check out the tips below in terms of taking better pictures with the Nook Phone photo app, but there is an easier way to get really nice snaps. After you complete your first photo, the next time around, you’ll unlock a pretty cool feature that will let you get pictures of your designs with the customer in them when they do the look around animation.
If you look at the screen in the bottom right-hand side corner, you can see that you can now take a picture with + during the animation sequence. It’s worth bearing in mind that you will only have two images to choose from, so try to take that into accound as you’re snapping away during the animation. You’ll have the first picture you take as your selected shot and the last one you take as your alternative.
Whenever you head back to a property, you can review your pictures for it and change them using the + button. If you want some tips for taking new pics with the Nook Phone photo app, the list below should help you out.
- Keep an eye on the customer’s behaviour and be ready to take a pic when they do something interesting
- Play around with the angle of your picture to get a better perspective. A slightly side on view of the holiday home design might look better than the front view.
- Think about the best features of your design and try to make them the focal point. You can either zoom in to them or position your shot to bring out their best. That doesn’t mean they need to be in the centre of your picture, it just means that they should take up an important place. You can try to cut the view up into thirds and put them in positions on those points, which works well for any photography.
- Play around with the perspective. A close up of the customer won’t always work, but there are some occasions that it might, like if they’re standing next to the best feature in the room. However, for other designs you might want to take everything in and go for a wider shot.
RELATED:
What will be the next Animal Crossing game?
How to setup your designs better for photography
As mentioned above, you don’t get total freedom with the camera movement, so you’ll need to take this into account when designing a holiday home. The constraint is that you can’t just turn things totally to the side or back and get everything into the shot nicely, so you need to focus on designing with a plan to get a photo either from the front or slightly to the side.
That means having the back wall as big part of the focus for the design with leading lines running up to it. This could be a bed or a bookcase or long table, for example. This also ties in with the feature wall side of things on the back wall.
It also means that you don’t want too many tall items at the front of your design as this will just get in the way of your shot. Instead, but the taller items at the back. Obviously, you can break this rule if you want to play around with things, but you’ll just need a plan if that’s what you want to do.
However, with the addition of the photos that you can take during the design appreciation animation, you can get away with alternative designs. This means a little experimentation to see what works best for this to see what you can get away with and what just doesn’t work at all.
In all fairness, you don’t necessarily need to take the best photos to advance in the game, but if the pictures are important to you then it’s a good guide rule to follow.
Don’t forget to check out our computer games section to keep tabs on the game, or visit the Animal Crossing New Horizons website at https://animal-crossing.com/new-horizons/.

