

Next up in our guide for The Legend of Zelda Tears of the Kingdom is how to solve all of the puzzles at the Wind Temple. Some of them are pretty tough and it’s easy to get there and not be sure what to do first, so the details below will take you through how to complete it and how to defeat the Wind Temple boss, Colgera.
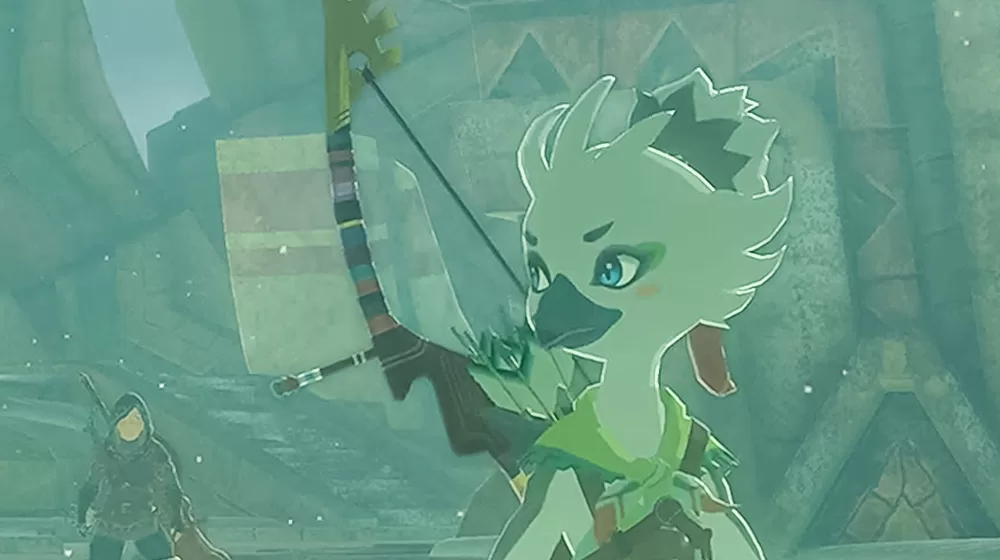
After you help Tulin of Rito Village make it up above the blizzard and hurricane you land down on the Wind Temple. If this is the first of the Regional Phenomena that you’ve taken on then it will also be your first temple, but it’s a good place to begin.
AdvertisementIt’s probably the easiest temple in Zelda TotK and the boss fight can be done without taking any damage, so it doesn’t matter that you probably don’t have that many heart containers just yet. You’re probably still getting to grips with the new abilities, and you’ll need them all to help you through the Wind Temple.
If you find the guide useful, follow us on Twitter to see more on the latest video games releases, and you can see more on The Legend of Zelda Tears of the Kingdom with the official Nintendo Twitter page at https://twitter.com/NintendoAmerica.
How to stay warm at the Wind Temple
The simple answer to this is to buy the Snowquill armor set from Rito Village, but if you don’t have the cash you can simply cook up a cold resistant meal like you did at the Great Sky Island. Some spicy pepper will get the job done.
You should have a stove device from the dispensers up on the Great Sky Island, and you can use this to cook up the dish. If you don’t have one you can simply fast travel back to Lookout Landing and use the stove in the shelter before fast traveling back. You might want to cook up a couple of them, just in case you need it.
How to activate the four locks at the Wind Temple
AdvertisementYou can activate the first of the Wind Temple switches by using the updraft to land on the building in front of you when you arrive and heading to the right. There’s an ice floor to smash that will drop you in to the floor below. Use fire (a Fire Fruit arrow works well) on the ice and ice Ultrahand to move the switch to open the door to get the chest.
You can then use ascend to get out and head back to the ground to trigger the switch on the top left of the Wind Temple using Ultrahand again. This will open the door and you can head on in to beat the construct and claim the second chest.
For the broken switch back outside (top right of the Wind Temple) you need to fix it with the ice and then trip it to open the door. This will see you through to the first of the locks, which you can trigger using Tulin’s ability.
Next, head back to where you landed at the bottom of the temple and melt the ice block to get the third chest. You can then leave this area and head to the bottom left of the temple to use the glider to get to the platform to the side, giving you another chest.
AdvertisementYou can then glide on over to the entrance lower down, avoiding the cannon fire along the way. Beat the keese and drop down the ice gap, gliding in under the Wind Temple to land on the ledge with a construct to beat and the second of the locks to trigger.
You can then head up through the door over the gap with a way now open to the lasers near to the ice gap. Thread through to get the chest on the other side. Return to the other side of the lasers, jump over the ice gap and head around to the left to defeat the construct.
RELATED:
The Legend of Zelda Tears of the Kingdom armor sets
Use Ascend or a bridge of broken wall pieces to get to the floor above this and you’ll have a corridor leading to a device that you can fix with a piece of broken wall to turn it into a crank. Spin this with Ultrahand to open the way to the side of this, which leads up to the third of the Wind Temple locks to activate and another construct to defeat.
Head back to the main area of the temple and jump off the bottom right of the ship to get to the platform floating to the side. Shoot out the ice and then use the glider to get back in to the way you’ve just opened using the boat spring for the height you need to make it across.
AdvertisementDefeat the enemies on the other side and reverse the wheel to get over it using Recall. You can trigger the switch to open another route out into the air, but follow the corridor until you get to the cogs. Attach the ice between the gap to spin the cogs and you can get through to activate the last of the locks.
Retrace your steps to the other side of the wheel and at the bottom of the corridor is the last of the Wind Temple Chests to pick up. You need to create a long stick by sticking to ice piece together end-to-end, so you can thread it through the gap using Ultrahand, stick it to the chest and pull it back through. If you’re having difficulty with this you can see it in action in the video below at the 31 minute mark.
That just leaves the Wind Temple boss to fight, so you can head back up to the central section and trigger the switch to open to locks. Colgera will blast on through and you can read the guide notes below to find out how to defeat it.
How to defeat the Wind Temple boss, Colgera
As this is possibly the first of The Legend of Zelda tears of the Kingdom bosses that you will take on, it can feel a lot more daunting than it actually is. Colgera is actually very easy to defeat, but it’s all about know how to do it.
AdvertisementThe easy solution is to fly up high and then dive down through the ice, but you can also drop below it and shoot them out with arrow fused with Keese wings. This makes the arrows fly much further and you can take all three ice areas out in a series of bullet time moves if you get the timing right.
Phase 2 just give you some spikes to avoid on the descent and mini hurricanes in the sky. Use the glider to make it around them or dive to drop below them and repeat the ice smash trick discussed below and that will see you competing the Ice Temple and returning things to normal in Hebra. You can see the dive method in the video below:
After this you’ll get to keep Tulin’s wind gust ability throughout the rest of TotK, which definitely comes in handy in terms of getting around. You also get to find out a bit more about the story of what’s going on in Hylia and the history of Ganondorf, so it’s where the real battle begins.
Check out our full guide for The Legend of Zelda Tears of the Kingdom for more help to get the most out of the game. You can also see our computer games section for more news and features on TotK, or visit The Legend of Zelda website at https://www.zelda.com/.
