

 Buckle up for the second part of our Monster Hunter World walkthrough as the stakes step up a notch with the likes of the Tobi-Kadachi and Anjanath. They may not be the most difficult monsters in MHW, but at this stage of the game, they’re pretty tough to take out.
After you complete the Pukei-Pukei battle at the end of our first walkthrough, you’ll head out to Wildspire Waste, a new area to investigate. This throws up a whole host of new monsters and challenges to take on and the environment ranges from arid desert to stinky swampland, so it’s a lot of fun to wade through. You can check out all of our walkthrough videos with our custom YouTube Monster Hunter World walkthrough playlist.
Beat the Barroth
Your first foray into Wildspire Waste will see you trying to escort a research team through to a Zora Magdaros drop in the middle of the map. However, things don’t go particularly smoothly and you’ll find yourself face to face with a Barroth to hunt down. It’s got a very tough head to deal with and flings out huge piles of mud to trap you in.
Get in your hits from the side into its legs to try to knock it down and then wail away on it as much as possible. It does rampaging charges, so get out of they’re way, but keep an eye out for it getting dazed by charging into one of the wildspires up in the desert area, as this is a good time to do some serious damage.
Once you’ve dished out enough impact, it’ll start to limp off to wallow in its mud flat home. Trail it in and set your large barrel bombs to kick off the final phase with a lot of hits, and then it’s just a case of finishing it off.
Jyuratodus Judo chop
Next up, you’ll have to take down a Jyuratodus, which is like a huge eel with legs that swims around the swamps of Wildspire Waste. It attacks from the head, but you can get some good hits in there, as it’s one of its weak spots, along with its tail, which is also a good target.
It’s not that savage though, so you should be able to make it through, as long as you avoid its mud pile spit-up and underwater surprise attacks. For the later, just keep moving around when it dips under the surface and then launch your hits on its when it lands back down. Water defence armor is a good idea in terms of preparation for this one.
Tobi-Kadachi tail tickle
At this stage, you’ll be sent on a quest back to the Ancient Forest, where you’ll need to take down a Tobi-Kadachi, which is a challenge with its thunder attacks. It’s well worth getting armor with good thunder defence, which will help you to keep you in the game against it.
Focus all of your efforts on its tail, as this is where it’s most devastating hits come from. If you can sever it then that will make the rest of the battle much easier. It does a Vega style drop attack where it goes up in the air and slams down on your from trees or mid flight. Just like with the Jyurotadus, it’s a good idea to keep moving when it heads up. Check out our walkthrough video above to see us taking it down early on in the game.
Take down the brute Anjanath
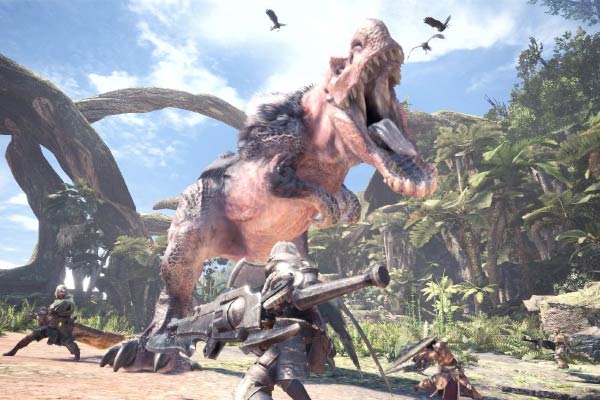
If you thought that facing up to a tricky Tobi-Kadachi was a challenge, the Anjanath will really test your metal with the most devastating move set you will have come up against by this stage in the game. It breathes fire with a very powerful blast attack, so go for armor with fire defence and get ready to stick and move like you haven’t done before in Monster Hunter World.
While its weak spot is its head, this is also where it’s most ferocious, so try to avoid it unless you manage to down it. Instead, focus your attacks on its tail, which is also a weak spot, and its legs to try to knock it down. It’s lunging attack is to be avoided at all costs, so be ready to roll and run to keep out of its way.
One for the History Books Assigned Quest
At this stage, you’ll have enough info to mount a capture attempt on Zora Magdaros, so you’ll head on our for the One for the History Books assigned quest. It starts out with a section where you’ll be trying to weaken the Elder Dragon with cannon fire and ballista. Focus on moving from one cannon to another if you can while the none player characters load them, with a little help from your Palico.
After this stage, you’ll need to mount Zora Magdaros, so climb up the stairs to the hitching post and fly on up. Here, you’ll need to focus your efforts on finding and destroying its Magama Cores, which you can find on the map. They’ll burst out flames, so fire defence armor is a good idea. However, the arrival of another elder dragon, Nergigante, will thwart your efforts, leaving the story to continue for Monster Hunter World and Zora Magdaros to disappear underground.
Share our Monster Hunter World walkthrough Part 2
Check out our Monster Hunter World page or the official Twitter page to find out more about the game if you haven’t played it yet and you can share the second part of our walkthrough with the links below.
